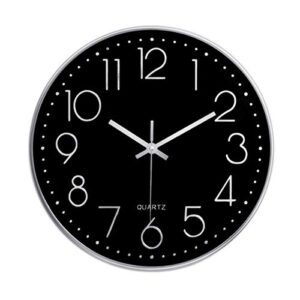
Brand: Topkey
Color: Black
Features:
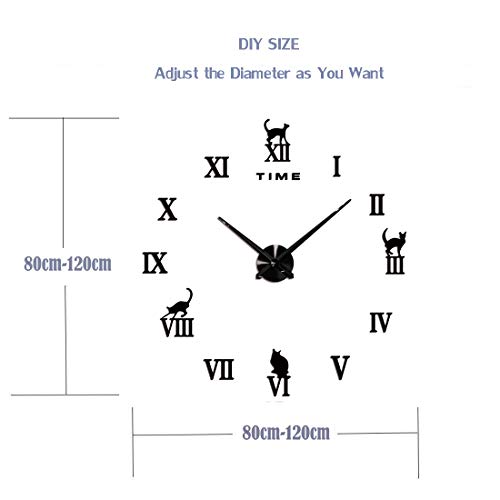
- Reference Size (Diameter) – 90-100cm(standard); 80cm(minimum); 120cm(maximum).
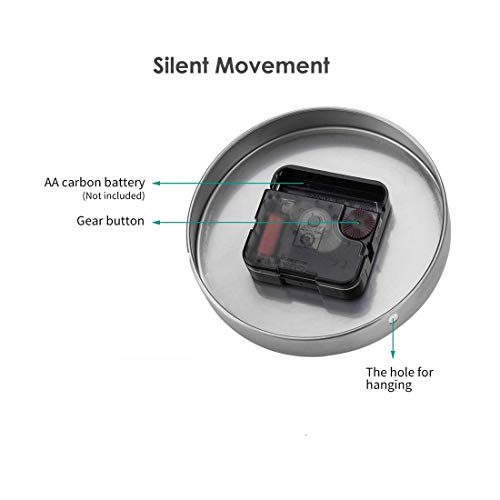
- Silent Movement – Quiet sweep and precise quartz movements to guarantee accurate time, ensure a good sleeping and working environment.
- Easy To Install – Package includes self-adhesive stickers and auxiliary scale ruler for easier installation. Each mirrors have a protective film, please tear off after installation.
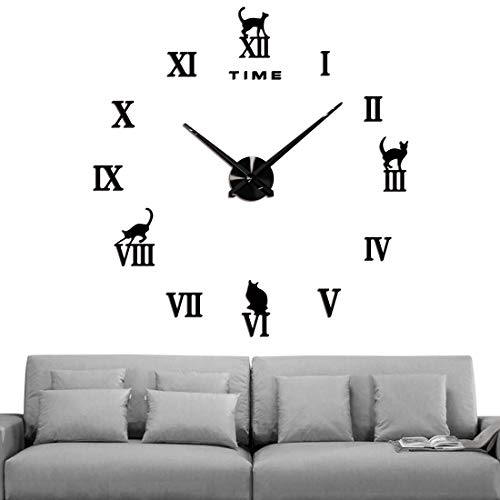
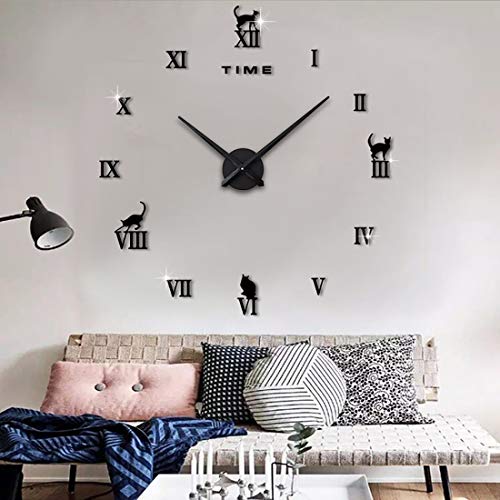
- Stylish Look Clock – Acrylic mirror surface and 3D effect make your room looks luxury, a perfect art clock décor for your home or office.
- DIY Assembly – You can design the position and size of the clock as you like, at the same time, you will enjoy the fun of DIY with your family and friends.
Package Dimensions: 49x422x430
Details: Features:
1.The wall clock is with 3D effect;
2.Self-adhesive,Waterproof high-density EVA foam material;
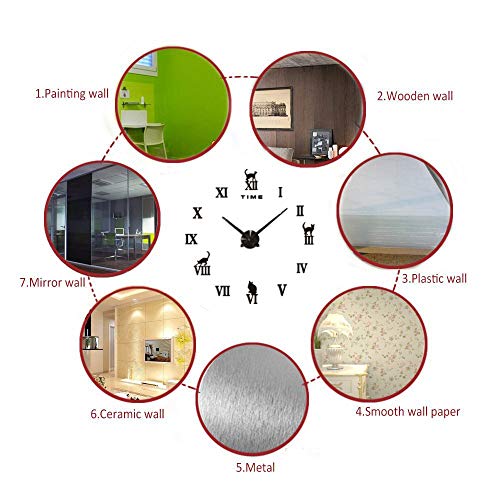
3.The decals can be applied on all smooth surfaces, such as walls, doors, windows, closets, plastic, metal, tiles etc;
4.Can be used for gifts, crafts, business gifts, holiday gifts, promotion gifts, home decoration;
5.Suitable for smooth walls of living room, kids bedroom, dining room, kitchen, office, bathroom, coffee shop, hall, etc.
Specifications:
1.Color: Silver / Black
2.Hour pointer length: 31cm
3.Minute pointer length: 39cm
4.Clock tray size: 12*2cm(diameter*thickness)
5.Reference achieving size(diameter): 90-100cm(standard); 80cm(minimum); 120cm(maximum)
How to Install:
Step 1: Nail a hook into the wall.
Step 2: Hang the clock plate on the hook.
Step 3: Hang the paper scale on the clock plate.
Step 4: Use the included ruler to mark the number position on the wall.
Step 5: Peel off the paper from the back of the shiny acrylic number, then place the number on the black EVA number.
Step 6: Peel off the paper on the back of the black EVA. Fit with the corresponding position.
Step 7: Repeat steps 5 & 6 until all numbers are in their corresponding position.
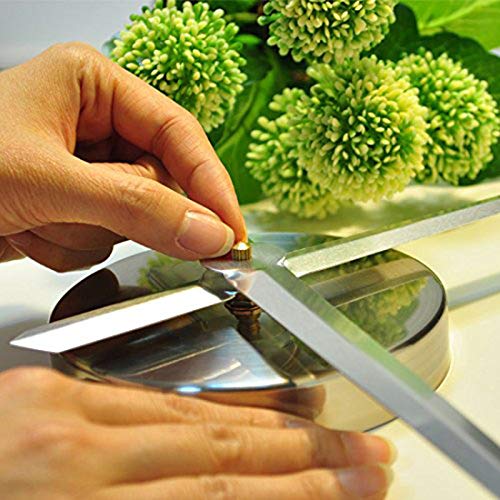
Step 8: Place the hour hand into the clock plate in the 12 o’clock position. Attach the minute hand in the same position.
Step 9: Tighten the nuts.
Step 10: Install an AA carbon battery, set to the correct time and hang back on the hook. The wall clock is now complete.
Package Included:
1 * DIY Wall Clock
